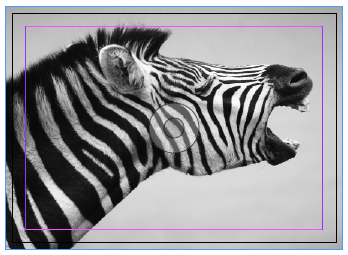
 Grayscale Raster | full bleed | Save as flattened eps or tif | color mode: grayscale
Must be 300 resolution and 1/8 inch bleed should be built into your Photoshop file.
For a 6 x 4.25 inch post card cover, your PS file should measure 6.25 x 4.5 to accommodate bleed on all four sides.
For a 6 x 4.25 inch post card cover, your PS file should measure 6.25 x 4.5 to accommodate bleed on all four sides.
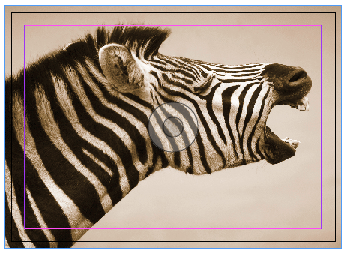
 Duotone Raster | full bleed | Only save as eps | color mode: Duotone
I used PMS 116 + black for my duotone
(You must convert your image to Grayscale first, to get the Duotone option)
Must be 300 resolution and 1/8 inch bleed should be built into your Photoshop file.
For a 6 x 4.25 inch post card cover, your PS file should measure 6.25 x 4.5 to accommodate bleed on all four sides.
 Four Color Raster | full bleed | Save as flattened eps or tif | color mode: CMYK
Must be 300 resolution and 1/8 inch bleed should be built into your Photoshop file.
For a 6 x 4.25 inch post card cover, your PS file should measure 6.25 x 4.5 to accommodate bleed on all four sides.
For a 6 x 4.25 inch post card cover, your PS file should measure 6.25 x 4.5 to accommodate bleed on all four sides.
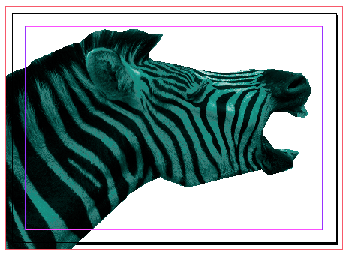
 COB created using a clipping path in Photoshop | Only save as eps
Must be 300 resolution and 1/8 inch bleed should be built into your Photoshop file. A COB cannot be a full bleed, but if it bleeds of any side, you need to account for this by building it in, in PS. Your COB can be created from any of your above color modes; duotone, grayscale or cmyk.
Create a Clipping Path in Photoshop
[this step needs to be taken, when bringing an image into InDesign or Illustrator without the rest of the background. You will not see the final result in PS. It will only appear once you place the saved image into InDesign or Illustrator]
Create a Clipping Path in Photoshop
[this step needs to be taken, when bringing an image into InDesign or Illustrator without the rest of the background. You will not see the final result in PS. It will only appear once you place the saved image into InDesign or Illustrator]
- Make final size adjustments (you do not want to size your photo AFTER you create your path)
- Draw a path using the pen tool*
- In the paths panel (make sure this window is open) select Save Path
- After you have saved the path in the same drop down select Create Clipping Path
- Save file as eps

No comments:
Post a Comment